This article has been tested on CentOS Linux release 7.5
Step 1 – Configure Yum Repository
Firstly you need to configure the PostgreSQL repository in your system. Use one of the below commands as per your operating system version. For more details visit PostgreSQL repositories link page where you can get repository package rpm for various operating systems.
Step 2 – Installing PostgreSQL on CentOS 7
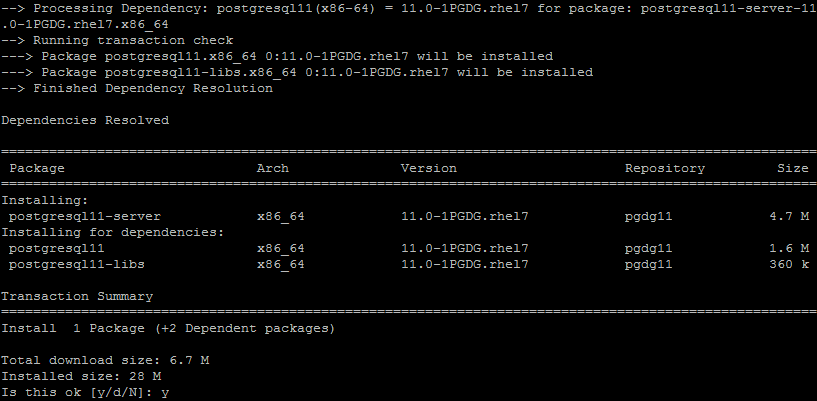
After enabling PostgreSQL yum repository in your system use following command to install PostgreSQL 11 on your system with yum package manager. This will also install some additional required packages on your system. Enter y to confirm and complete the installation process.
Step 3 – Initialize PGDATA
After that, you need to initialize the PostgreSQL instance. In other words, this will create a data directory and other configuration files on your system. To initialize the database use the below command.
The above command will take some time to initialize PostgreSQL first time. PGDATA environment variable contains the path of data directory. PostgreSQL 11 default data directory location is /var/lib/pgsql/11/data
Setp 4 – Start PostgreSQL Server
To start PostgreSQL service using the following command as per your operating systems. Also, enable PostgreSQL service to autostart on system boot.
Step 5 – Verify PostgreSQL Installation
After completing the above all steps. Your PostgreSQL 11 server is ready to use. Log in to your server to verify the connection. You may create a password for user postgres for security purposes. In conclusion, You have successfully installed the PostgreSQL database server on CentOS/RHEL 7 system.

